
How Much Stove Fuel Do I Need for a Backpacking Trip?
For a solo weekend backpacking trip, a small 100g canister of stove fuel is often enough. As a general guide, you should bring enough fuel to boil one liter of water per person, per meal and factor in your stove’s boil time and total burn time. Read on to learn how to calculate your fuel needs.
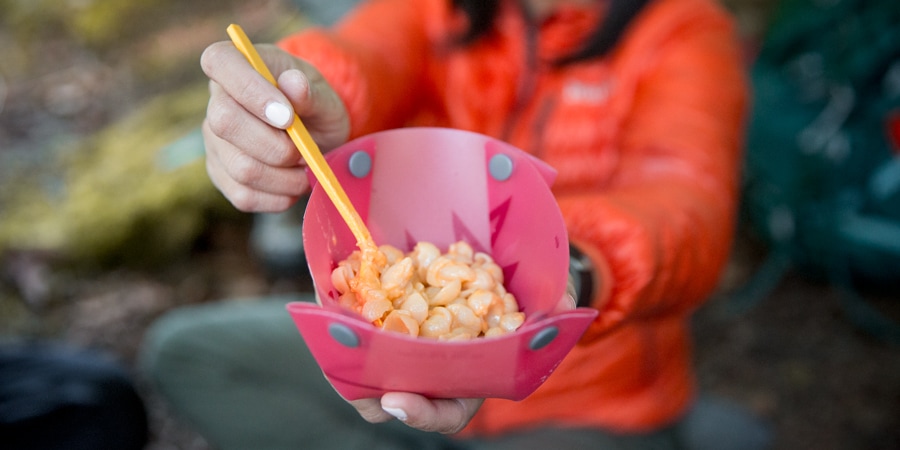
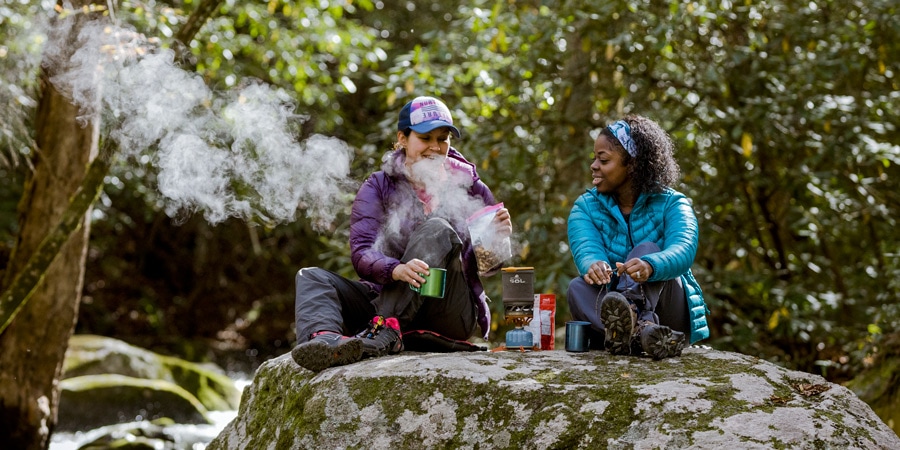
At the end of a long day on the trail, the cure-all for sore feet, aching shoulders and a growling stomach is a hot meal cooked over your trusty backpacking stove. Unless you run out of fuel, that is.
Given that the penalty for underestimating fuel requirements is a cold breakfast and dinner (or worse, no morning coffee) many backpackers simply fill their fuel bottle to the brim or take more canisters than they think they’ll need. But this approach can mean you’re carrying unnecessary weight.
On the other hand, if you’re a weight-conscious—and arithmetic-confident—backpacker, you can calculate in advance how much fuel you’ll need so you don’t end up carrying more than you’ll use.
To figure out how much fuel you’ll need on your backpacking trip, follow these general steps, which we’ll describe in detail below. We’ll go through the process for a canister fuel stove in this article. Note that you can adapt the steps for a liquid fuel stove, too, though we won’t detail those differences here.
- Make a meal plan: The goal is to figure out how much water you’ll boil and how long food needs to cook on the stove.
- Assess your fuel needs based on your plan: This is where the math comes in using your stove’s specs for boil time and burn time.
- Adjust for factors that will affect your fuel usage: No plan will be perfect, especially if you’ll be camping in wind, or at elevation.
Video: How Much Fuel Should You Bring Backpacking?
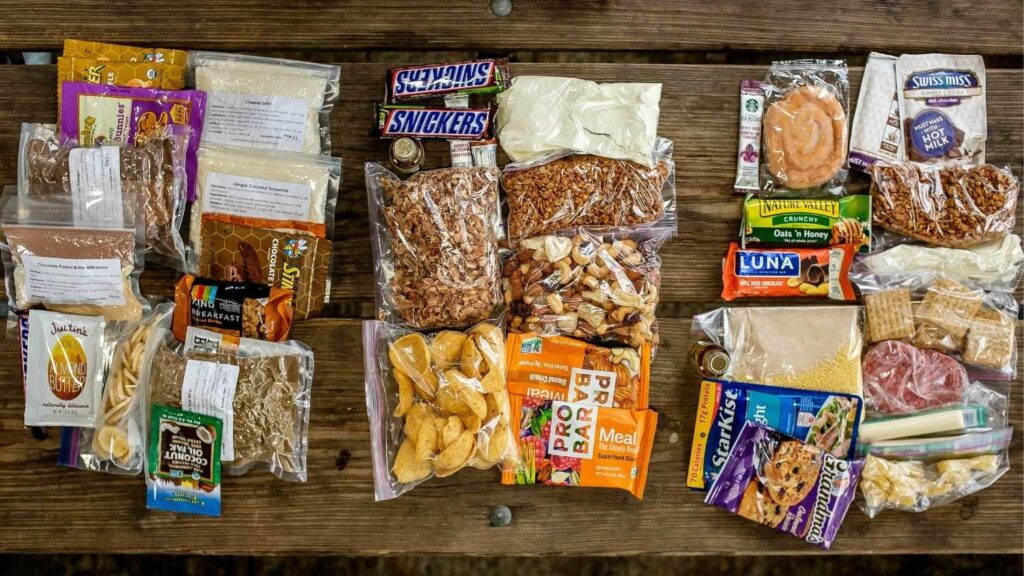
Planning Your Backpacking Meals
Since most hot backpacking meals are based on using boiling water (think freeze-dried backpacking meals, coffee, and tea, instant oatmeal, etc.), the first step in assessing your fuel usage is to identify how much boiling water you’ll need for your trip.
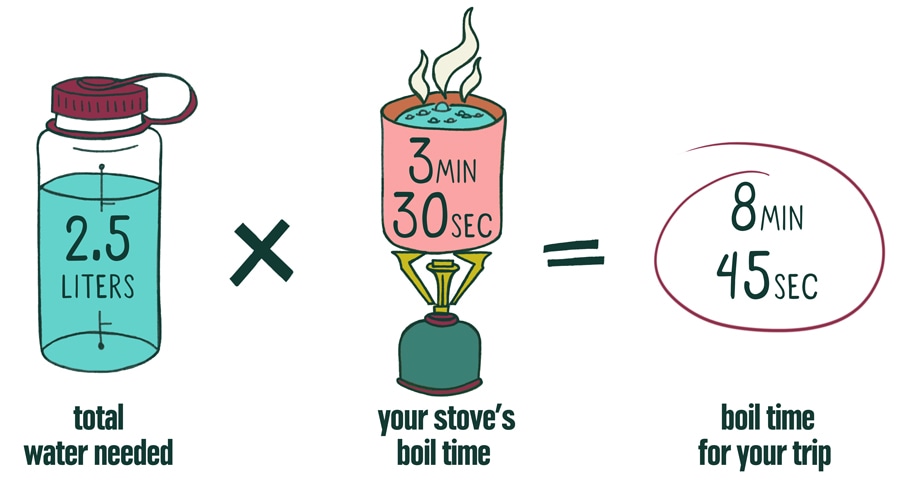
Quick-estimate planning: If you’re content with a general guesstimate of how much fuel you’ll need to bring, the general consensus is to figure on boiling one liter of water per person per meal. Once you have that number, you’ll use your stove’s boil and burn time specs to calculate your fuel needs.
Making a detailed plan: Are you going to use your stove for lunches, or will you eat cold food on the trail? Your freeze-dried meal may say it feeds two, but you may need to double up to feed big appetites. Will you need to simmer any of your food instead of just boiling water? Will you need to boil water or melt snow for drinking? All of these variations have implications for your ultimate fuel usage. To be more precise about your fuel needs, it can be helpful to make a chart like the one below. (Many stove specs and freeze-dried food packages list volumes in liters, which we’ve done here.)
Sample Meal Plan (for one person)
| Day of the Week | Meal | Food | Required Water |
|---|---|---|---|
| Friday | Dinner | Freeze-dried chili | 0.5 liters |
| Saturday | Breakfast | Instant oatmeal/coffee | 0.5 liters |
| Lunch | Bagels, hummus, cucumber, cheese | 0 liters | |
| Dinner | Freeze-dried beef stroganoff/cocoa | 1 liter | |
| Sunday | Breakfast | Instant oatmeal/coffee | 0.5 liters |
| Lunch | Bagels, hummus, cucumber, cheese | 0 liters | |
| Total: 2.5 Liters |
How to Calculate Your Fuel Needs
Once you’ve added up how much water you’ll need to boil, consult your stove specs. You’ll need to consider these key pieces of information:
- Boil Time tells you how fast a stove can bring a specified amount of water to a boil in ideal conditions: for example, 3 min. 30 sec. per liter of water.
- Burn Time tells you how long a stove can run on a specified amount of fuel: for example, 60 min. per 230g canister. (Some brands state canister size in oz., so you might have to do some unit conversions.)
Another way to find stove specs: If you’re skeptical of—or simply can’t find—your stove manufacturer’s performance specs, you can perform your own test at home (see the video at the beginning of the article) to find out the key specs: how much fuel your stove requires in order to boil a liter of water and how long it will burn on a given amount of fuel. It can get confusing because some stove specs use ounces and some use grams, so you might have to do some unit conversions along the way.
Doing the Math
Once you know how much water you need to boil, you multiply that amount by the boil time for your particular stove. This will give you the number of minutes it will take to boil all the water for your meals.
Example: 2.5 liters (total water needed) x 3 min. 30 sec. (your stove’s boil time) = 8 min. 45 sec. (boil time for your trip)
Example: 8 min. 45 sec. (boil time for your trip) / 60 min. (total burn time) = .15 (or 15 percent)
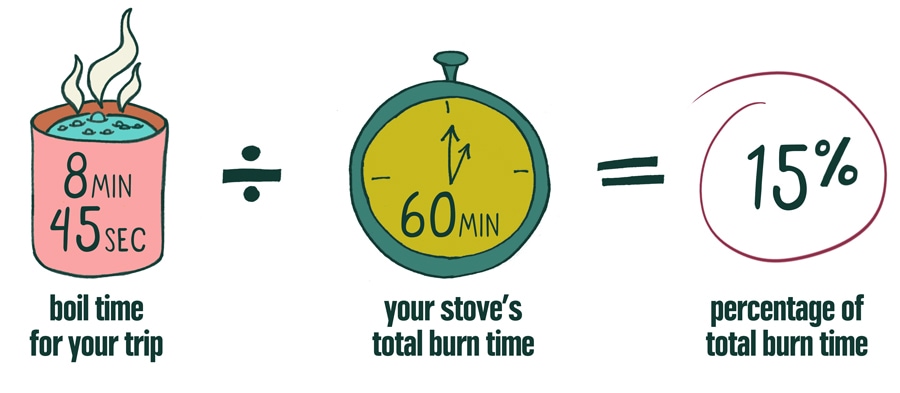
Example: 15 percent (.15) x 230g (total fuel) = 35 grams
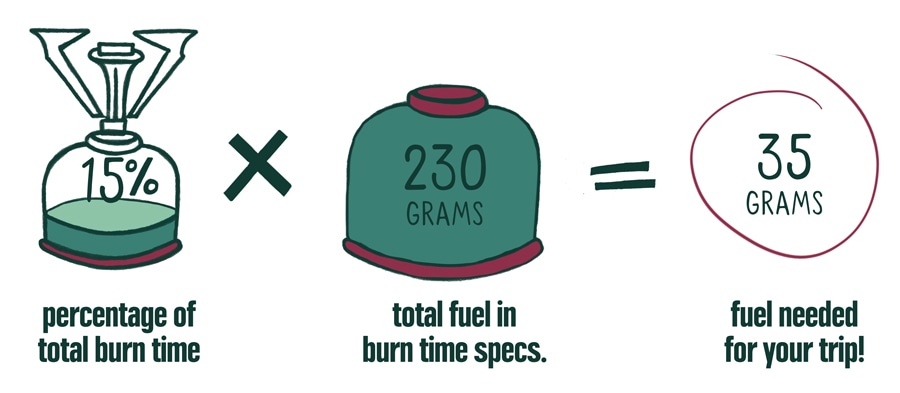
So, to boil 2.5 liters of water for your weekend trip (in ideal conditions), this stove will use approximately 35 grams of fuel. That’s roughly a third of the most-common smaller canisters on the market (100g, assuming you’re using a canister stove as opposed to a liquid fuel stove.) That leaves you a good amount of leeway if you need to use extra fuel to account for other factors, such as those listed below.
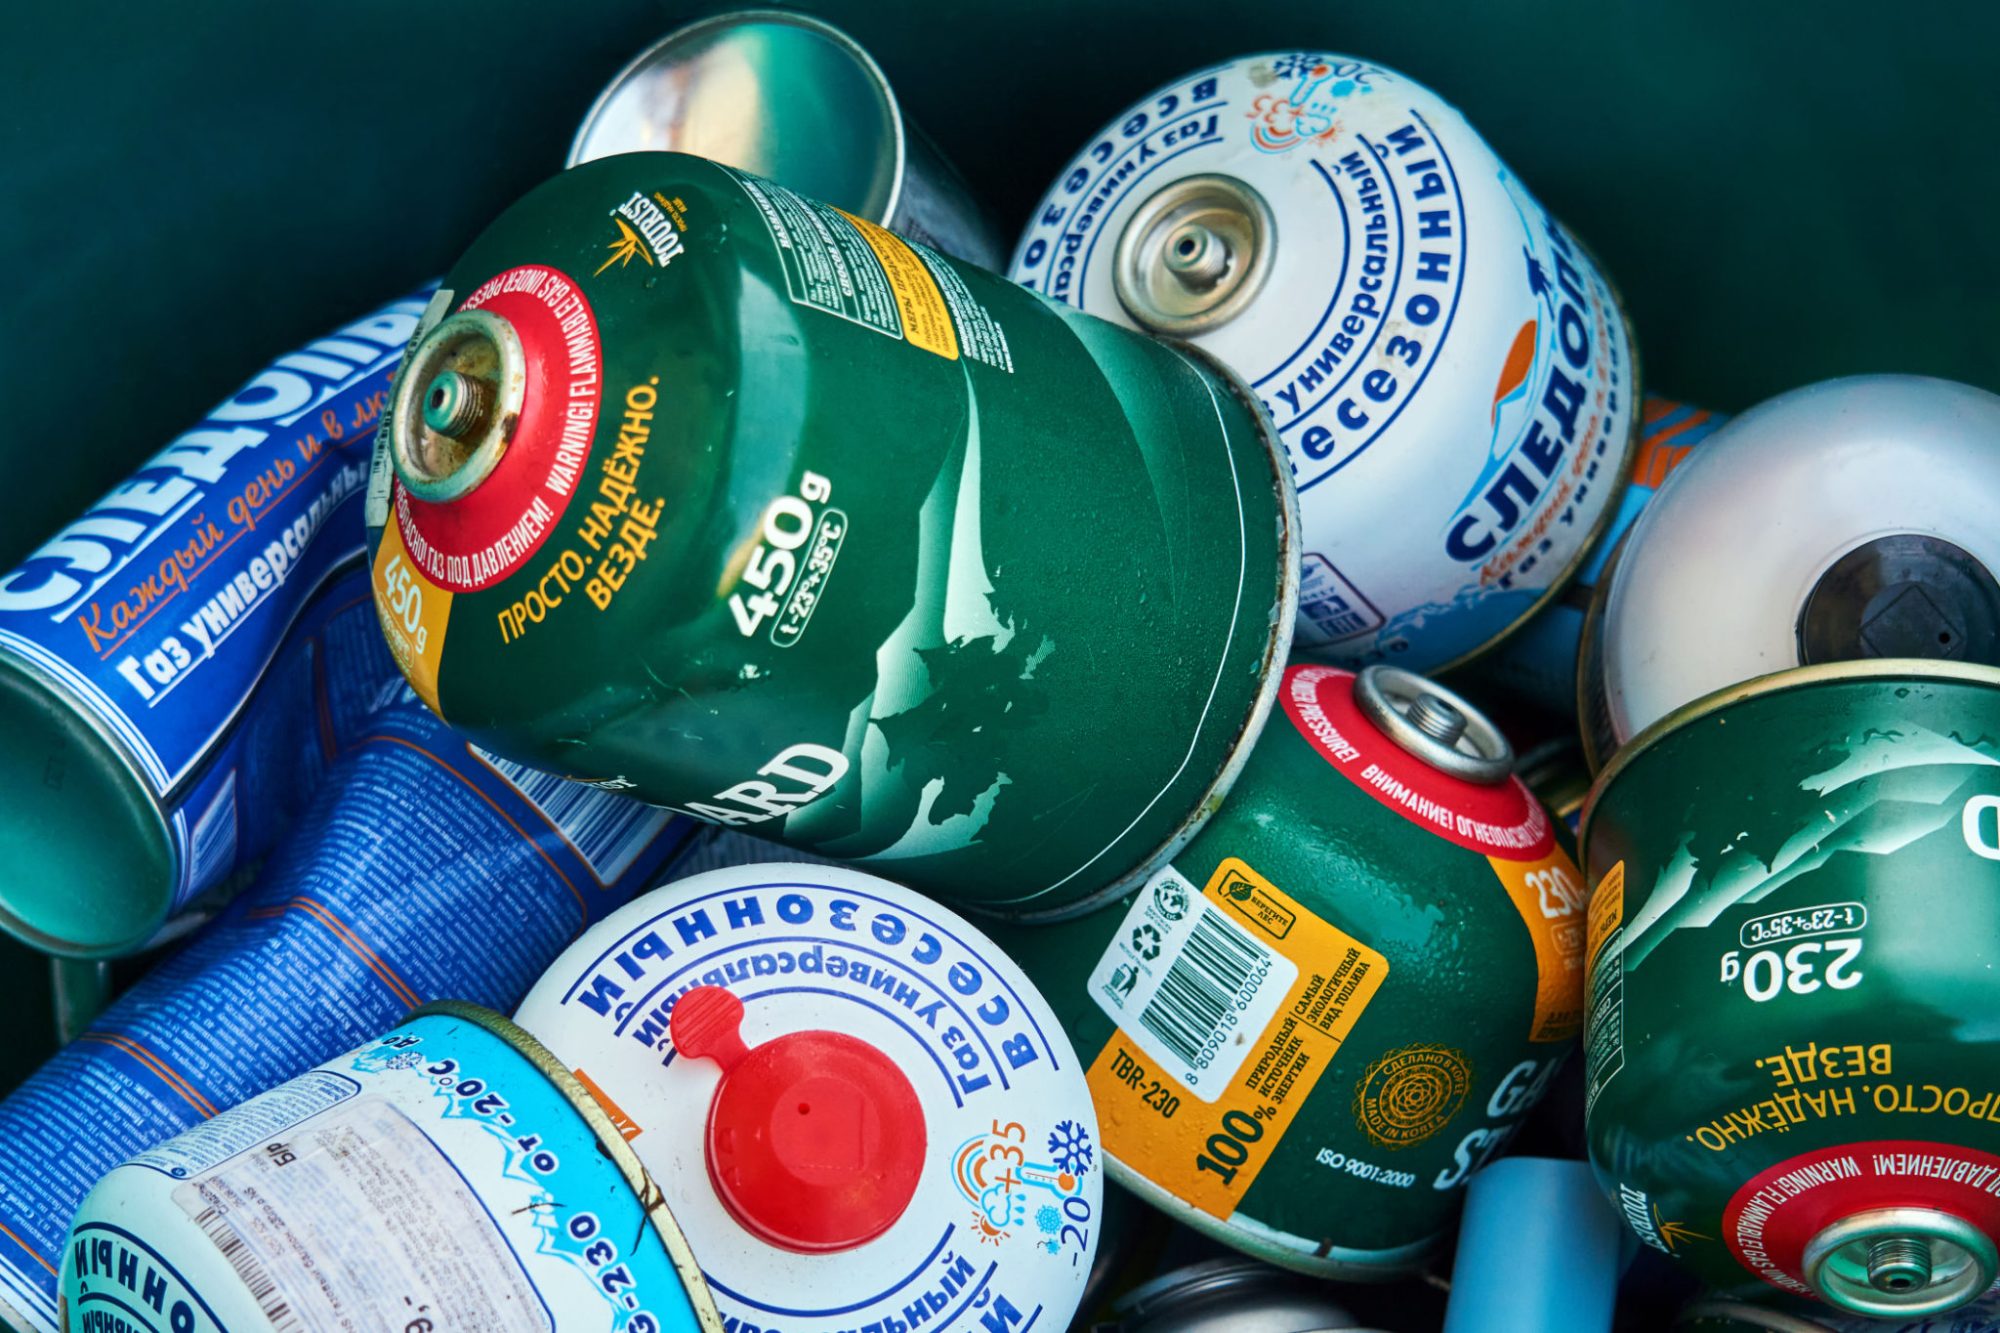
What About My Used Fuel Canisters?
If you’re like many people, you have at least one fuel canister that hasn’t been fully used up. The video below gives you two ways to estimate how much fuel your canister has left in it.
Video: How to Measure Canister Fuel
Variables That Affect Fuel Usage

The specifications provided for your stove were measured in ideal conditions. Wind, elevation, air temperature, and other conditions may also affect your fuel calculations before you head out. It’s difficult to say exactly how much the following factors will affect your fuel usage. If you expect to encounter any of the following conditions, make sure you err on the side of caution when calculating your fuel needs.
Simmering: Are you cooking pasta or another type of food that needs to simmer? Are you melting snow to drink or boiling water to purify it? If so, you’ll need to bring more fuel.
Wind: Wind is the most common environmental factor that can severely impact a backpacking stove’s performance. Windy conditions can literally blow away much of the heat you’re generating with your stove. In fact, if you expect it to be really windy (and you’re not using a windscreen with your stove), experts advise that you take twice as much fuel as you would in perfect conditions.
Air temperature: The surrounding air temperature can also impact stove performance and fuel use. Not surprisingly, if the ambient temperature is low, the temperature of any water you’re collecting from the environment is also likely to be low, and it’ll take longer to bring that water to a boil. In turn, this means you’ll need to burn more fuel to reach a full boil. In the backcountry, starting with near-freezing water means it’ll probably take several additional minutes to reach a boil.
Elevation: The boiling point of water (or any liquid) varies according to the surrounding atmospheric pressure. As you go higher in elevation and the atmospheric pressure goes down, the boiling point lowers (and vice versa). In other words, water boils faster at higher elevations.
Even though water will boil faster on a mountain summit—which cuts down prep time for dehydrated or freeze-dried food—some foods will actually take longer to cook at elevation because they absorb water more slowly. According to stove manufacturer MSR, when it comes to cooking raw foods, for every 18 degrees Fahrenheit drop in boiling point (roughly the change from sea level to 10,000 feet), cook time will double.
Also, stove efficiency at elevation can affect overall fuel usage. Luckily, some stoves are designed to regulate fuel pressure, counteracting any drop in ambient air pressure. Also, most liquid fuel stoves can be manually pressurized by pumping, thereby offsetting any impacts on efficiency caused by a change in elevation.
Tips for Improving Stove Performance
No matter where you’re headed, how long you intend to be out, or how much fuel you plan to bring, there are a number of tips and tricks that can improve stove performance and help you use your fuel more efficiently.
- Prepare all your cooking provisions and cookware before igniting your stove. That way, you’ll be ready to cook as soon as the stove is running, saving precious seconds or even minutes of burning fuel while you fiddle with your supplies.
- Run your stove slightly below full power in order to achieve full efficiency, roughly a quarter turn less than full output. If you’re running at maximum power, your water might boil faster, but you’ll waste heat around the sides of the pot and send it out into the environment.
- Cover your pot. As the water heats up, it evaporates more quickly. The higher the rate of evaporation, the more slowly the water will boil. Keeping a lid on your pot minimizes evaporation, thereby reducing the time needed to achieve a boil.
- Use a windscreen. Combatting the heat-stealing impact of wind makes a big difference when it comes to saving fuel. Yes, a windscreen adds a tiny bit of weight to your pack, but that weight is offset when you don’t have to bring as much fuel. Note: This applies to liquid fuel stoves. Usually, you won’t use a windscreen with canister stoves as they need to allow heat to escape (though some canister stoves do have a specially designed windscreen).
- Really get to know your stove and equipment. Take notes on stove performance and fuel usage on your trips to inform your decision-making next time you head out.
Author: REIAt Recreational Equipment, Inc. (REI) we believe a life outdoors is a life well-lived!
Related Posts
HIKING THE EPIC AMATOLA TRAIL – South Africa’s Most Challenging Trail
One of the most remarkable aspects of our journey was the ever-changing landscapes. From dense
Backpacking Food Hacks to Keep You Eating Well Anywhere
Reward yourself on your first day out with a delicious milkshake. Just grab a pint
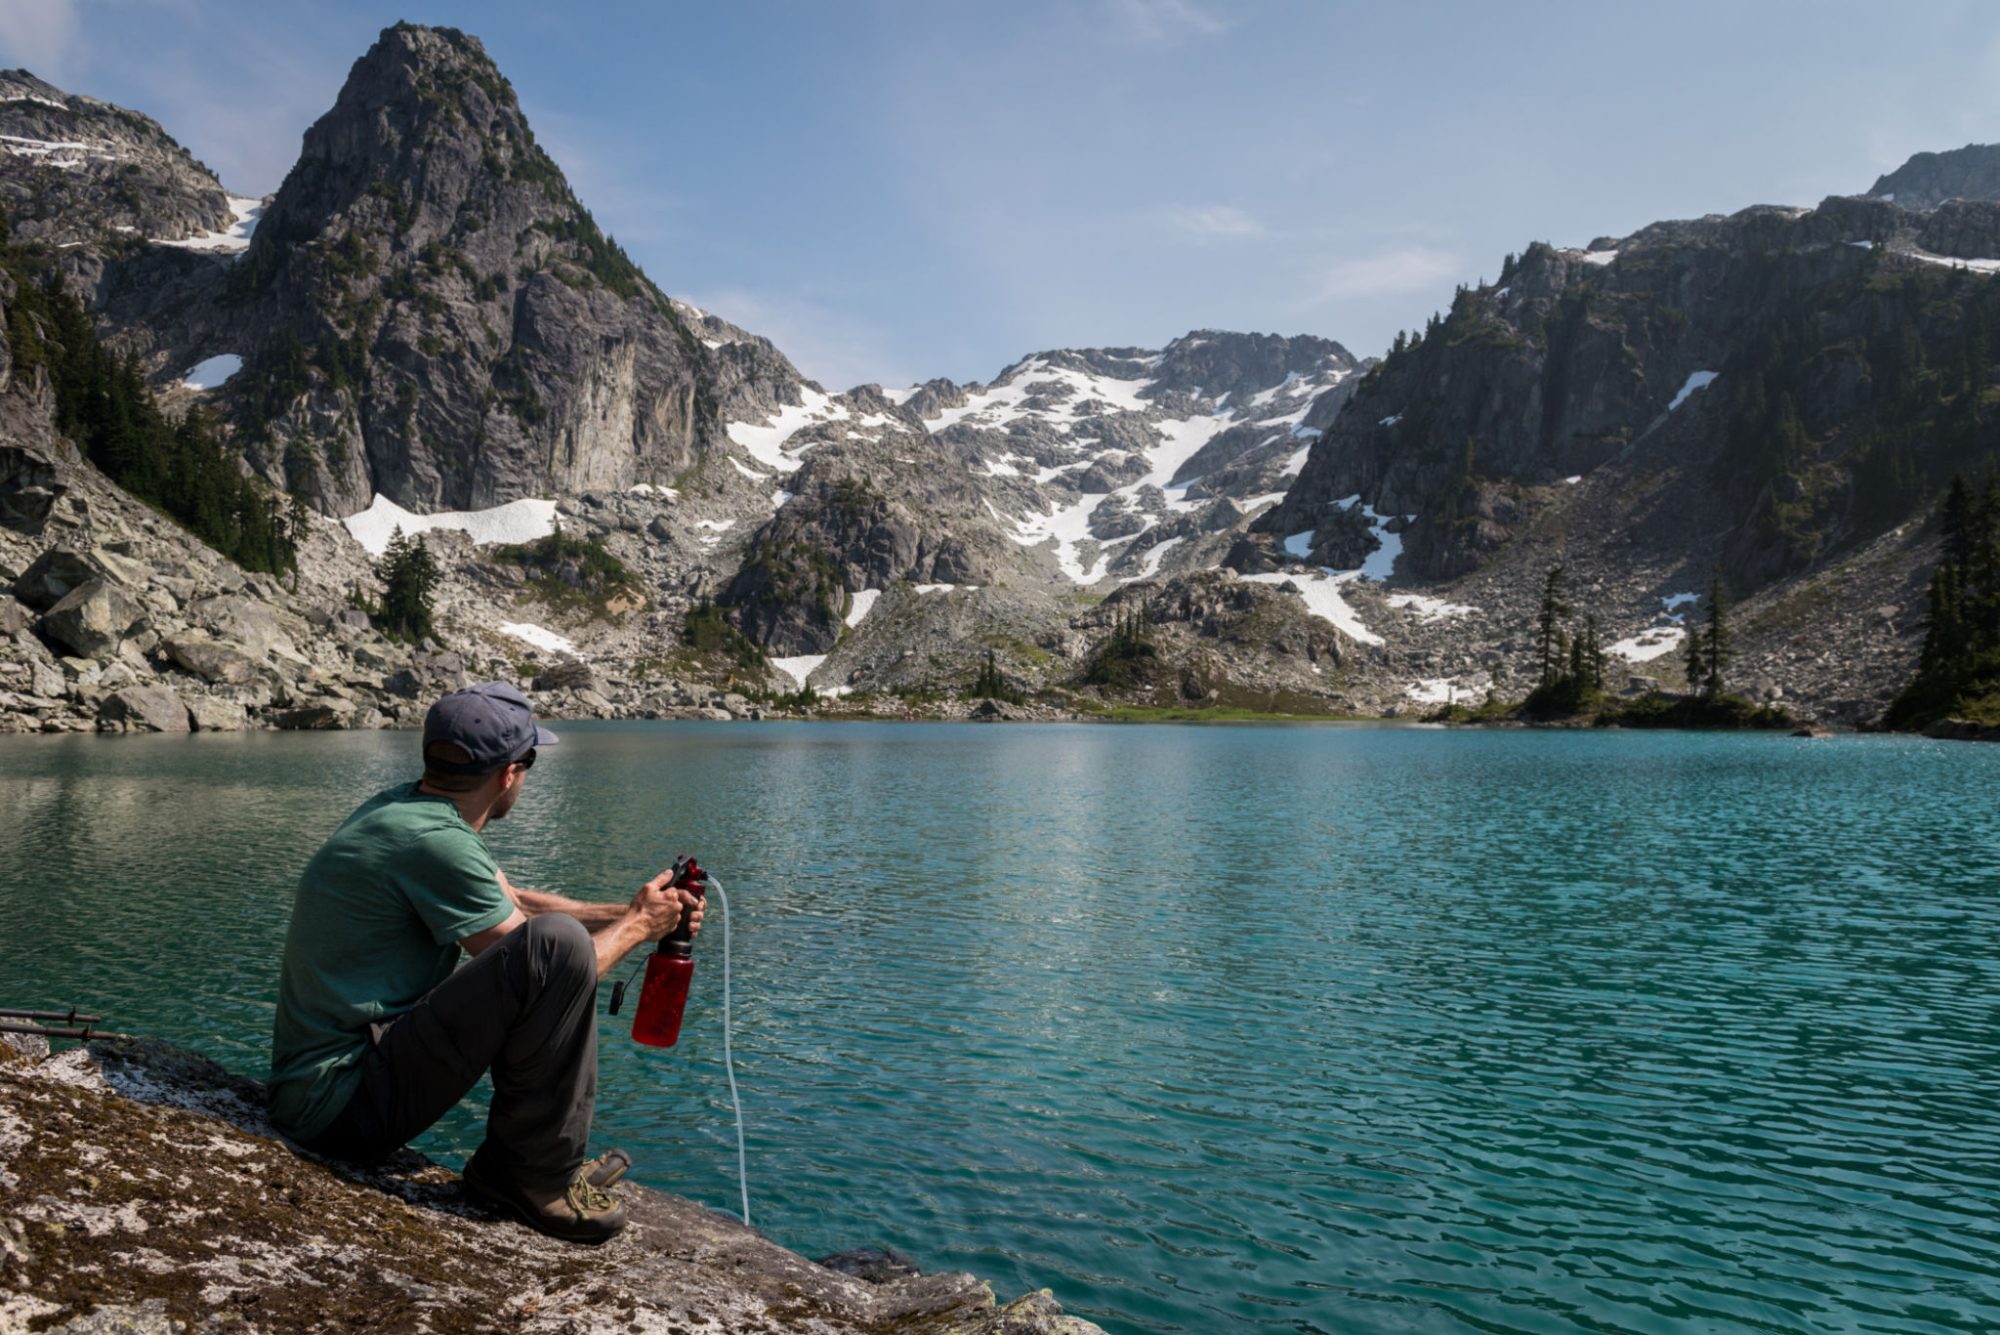
How to Choose a Water Filter or Purifier
Water purifiers also combat viruses, which are too tiny for most filters to effectively catch.